Showing posts with label Arizona. Show all posts

Sunday, December 24, 2017

Chiricahua National Monument

“I’ve got it! Let’s do all the trails!” I announce to Jan as I'm pouring over maps of Chiricahua National Monument.

We don’t really. But we cover most of the trails as we learn about the history and unique geology of this off-the-beaten path place in southeastern Arizona.
Chiricahua National Monument contains incredible rock formations. A massive volcano 27 million years ago deposited layers of ash and pumice that formed the rhyolite. Over time weathering gave rise to wildly shaped columns and pinnacles.
The first stop is the Visitor Center to pick up a Junior Ranger book. It will provide hours of entertainment during the 12 hours of darkness spent huddled in our tents.
We also learn that there is a FREE hiker shuttle. Perfect since it will allow us to hike from the top of Echo Canyon, over the Hailstone Trail, around the Mushroom Rock and Balanced Rock Trails, add side trips to Inspiration Point and Heart of Rocks, and come out the Lower Rhyolite Trail back to the Visitor Center near the campground. No personal vehicle required!

After getting our campsite, my parents drop us off at the Natural Bridges Trailhead (they decide to head back to town to get a hotel). The interpretive sign promises a dense stand of Apache pine trees along the trail. I'm been confused about how to identify them and hope this will help.
It looks like ponderosa pine to me but the needles of apache pine are longer.
On the roadwalk from the Natural Bridge trailhead back to the campground, I chase a butterfly but only get a lousy photo.
My butterfly buddy says this is an American Snout. Maybe if you squint you will agree? I'd only seen one before in Kentucky. The caterpillars feed on netleaf hackberries, which are a small tree found along streams.
On the walk from the campground to Faraway Ranch, I pull out my Junior Ranger book and start learning the trees along Bonita Canyon.
The biggest Alligator Juniper I’ve ever met.
One of the activities in the junior ranger book is a scavenger hunt at Faraway Ranch. Jan helps find everything on the list.
It takes us a while to locate the inscriptions made by the Buffalo Soldiers here on these stones. We learn they were stationed in Bonita Canyon in 1885-6 to fight the Apache. The stones were originally part of a monument to President Garfield that were later re-purposed to build Faraway Ranch’s fireplace.
The sun goes down early. I'm glad I have my junior ranger book to keep me busy with the word search and bird-related crossword puzzle.
The next morning, Mexican Jays squawk loudly and another bird flies high up into a tree.
What could this be? An exciting tropical bird?
I discover in my birding app that Mexican jays are often followed by northern flickers in winter. Ah ha! Apparently flickers take advantage of the jay’s alarm calls to warn against predators. So while I never do spot an elegant trogon, the good thing about being an inexperienced birder is that everything is new and exciting so I don't need to find something rare to be satisfied.

Finally the visitor center opens and I get sworn in as an official Junior Ranger. At 9 AM, an SCA drives us in the park van to the trailhead at Echo Canyon.
Once we get beyond a half mile down the trail, we don't see anyone until we are within a mile of the visitor center.
Jan takes her lunch break on a high perch at Inspiration Point.
I joke with Jan that this is an imposter balanced rock because, coming from Arches, we've got the *real* balanced rock. Though to be honest, this one has a narrower neck, so is perhaps even more spectacular.
In our only patch of sunlight on the otherwise shady Echo Canyon Trail, we take another rest break.
Wow an ANT!
According to the natural history guide, the Chiricahuas have over 135 species of ants. What incredible diversity! I'd been looking hard for ants for the past four days and laughing with Jan about how I couldn't find something as pedestrian as an ant.
Then, Jan spots this bug. Which turns out to be a redcoat seed bug.
“Two wildlife species!” declares Jan.

I agree wholeheartedly that insects count as wildlife.

My parents meet us coming down the Lower Rhyolite Canyon. They spent the day on the park road and were impressed with all the viewpoints and interpretive signs.

Overall, Chiricahua is one of my new favorite places for the surprising botanical (and zoologic!) diversity and unique geology.

More Information

For a different take on our visit to Chiricahua, read Jan's blog post.

Chiricahua National Monument is located in southeastern Arizona.  There is no entrance fee for the park. There was a $12 fee for the campground but the price is going up next year.

Sign up for the free hiker shuttle the day before and pick up your Junior Ranger Book at the Visitor Center. 

https://www.nps.gov/chir/planyourvisit/things2do.htm

Tuesday, March 8, 2016

Off the Beaten Path Hikes in Petrified Forest National Park

Want to experience the wilder, quieter side of a National Park?  Previously this required a long hike or backpacking trip.  But an innovative program at Petrified Forest National Park called Off the Beaten Path Hikes gets you off the paved sidewalks and away from the crowds in routes of just 2-8 miles. 
This is Off the Beaten Path--no trail, no other people.
The future of dayhiking—routes not trails.*
Routes differ from trails in that they are unmarked and require navigation skills.  Don’t expect signs at the trailheads either.  Pick up directions at the visitor centers, or get them online.  Following these routes read like a treasure hunt “from the spot where the tree is located, follow the drainage west…” Picking your own path and backtracking (when you find you went the wrong way) take extra time, but in return you will discover hidden treasures. 

The payoff
Off-trail exploration is a most welcome opportunity for the visitor seeking a quieter experience. I saw no one else Off the Beaten Path.  Instead, there was more nature— pronghorn, jackrabbit, and only flower I saw were all Off the Beaten Path.
At first these looked like animatronic pronghorns..
Until they showed up around the next bend and bolted off when they saw me.
Routes also provided connections with NPS park history—old roads and trails built in the 30’s make up two routes.

The Routes
In late February, I hiked four of the six described routes on a two day trip to Petrified Forest.  Because they were short, there was still time to hike all the paved interpretive trails as well.

Jasper Forest Road (First Forest)- 2.5 miles round trip
The Civilian Conservation Corps (CCC) constructed the Jasper Forest Road in the 30s but it was closed in the 60s. 
Traces of the old road.
In little over a mile, stand at the base of Eagle Rock, which was first described by John Muir.  This route has the most colorful and plentiful petrified wood, plus the John Muir tie-in, and thus clearly wins out as a favorite.
The Jasper Forest wood is mind-blowingly colorful.
Onyx Bridge- 4 miles round trip
Follow Lithodendron Wash into the Painted Desert Wilderness to find a concentration of 210 million year old petrified logs in the so-called Black Forest.  I got all excited when the description mentioned that one of the landmarks would be a “large living tree in the wash” but I never did find it.  Still, this is a beautiful area for wandering around.
Onyx Bridge.
Martha’s Butte- 2 miles round trip
Martha’s Butte (right) and Walker’s Stump (left)
Petroglyphs mark this special spot.
Historic Blue Forest Trail- 3 miles round trip
Originally built in the 30s by the CCC, they are not kidding when they say this is for adventurous hikers.  It’s steep and exposed, but the views are worth it.  And no one has to know if you butt-scoot/crabwalk down the steep parts. The guide for this one is the most detailed and gets bonus points for including geology notes.
Steep. Don't slip.
Petrified wood.
Oh the colors!
Overall
Off the Beaten Path Hikes provide a wonderful compliment to the paved interpretive trails at Petrified Forest.  Do the other trails first to learn from the interpretive signs about the local geology and history, then go Off the Beaten Path to see more and test your route-finding skills.
Even though it wasn’t on the OFBP list, the Long Logs trail was deserted and seemed to be overlooked. It was my favorite of the interpretive loops.

*The Trail Show Podcast refers to “routes not trails” being “The future of thru hiking”  Hopefully they won’t mind expanding this phrase to dayhiking as well.

More Information

Off the Beaten Path Petrified Forest Site


Ask for a paper copy of the directions (including a topo map) for each route from the visitor centers or the Painted Desert Inn. They also have plant identification information. YAY!
springparsley (Cymopterus spp.)
You may see other footprints, and sometimes the footprints diverge and lead you astray.  So constantly be engaged with routefinding and don’t let your mind wander.  GPS coordinates are provided for some of the routes, but are not a substitute for using your brain and paying attention.

Traditionally protecting the park is done by keeping people on the paved paths.  Going off trail in a national park requires you take on extra responsibilities.  The NPS still asks that you stay on the trail in fragile areas where footprints would be an eyesore.  Do your part and respect all posted signs.  Use good judgement when traveling off trail through sensitive terrain.  All it takes is one careless hiker to leave visible footprints across the fragile badlands to spoil the view for other visitors.

It should go without saying, but leave all petrified wood where you find it.  Yes, even that little piece that you’re sure no one will notice. 

Sunday, February 21, 2016

Overnight in the Petrified Forest

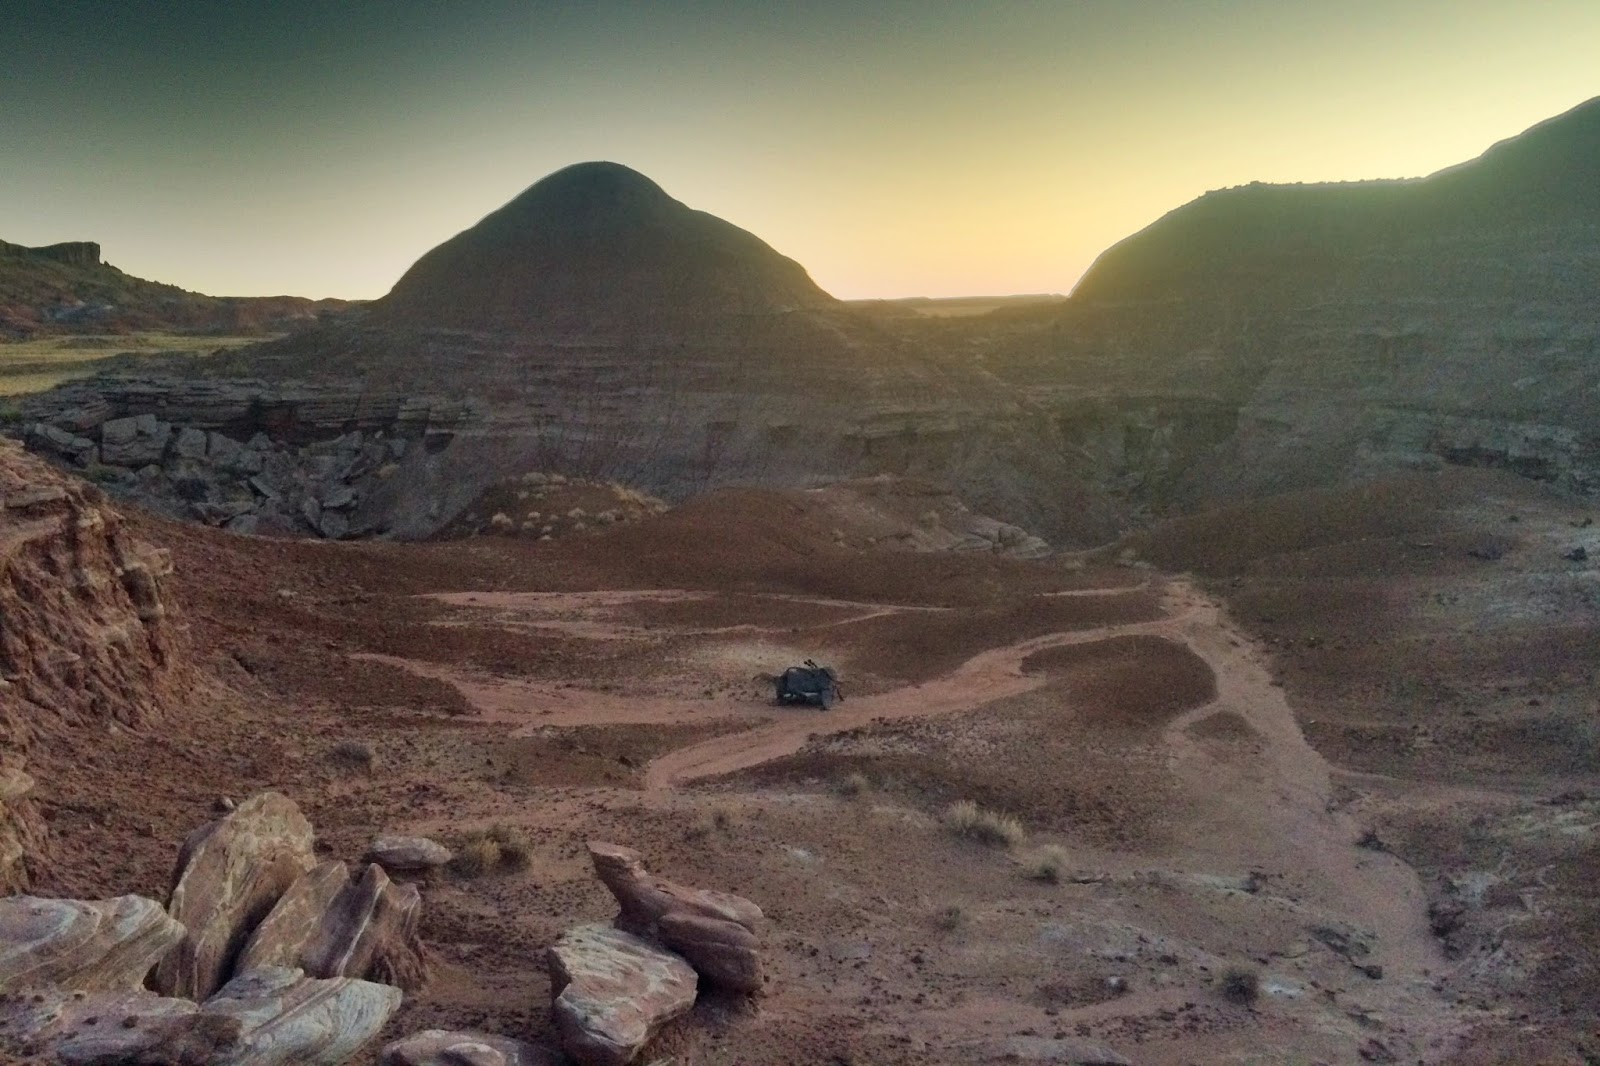
Full moon solo backpacking trip to the Painted Desert Wilderness of Petrified Forest National Park, Arizona. 
The map says there is a “Black Forest” down there, but from the trailhead, no trees are visable.

Petrified.
After several hours of romping among the petrified logs, following washes, and climbing up ridges to gain some perspective, the lengthening of the shadows can’t be ignored.  Time to start looking for well-spaced trees…er… flat ground. 
Moonrise and setting sun.
Moon is getting higher, sun getting lower.  Better find a spot soon.
Cold wind convinces me to pass up ridges and seek a site on the lee side of a hill. 
This elevated spot where I finally drop my pack for the night still has a view.
Winter means long hours of darkness.  My plan had been to do some cloud watching.  But the weather doesn’t cooperate.  Shadows are watched instead. The good thing is you usually can have one or the other, and sometimes both. 

And more to watch: Orion and Pleidies, followed by the full moon.  Much more interesting than watching a screen.  
Moon shadows proved equally riveting as their daytime counterparts.
A friend used to say that when you look at the moon, to remember how change is inevitable.  How sometimes it feels like you are in darkness and you don’t know what will happen, but other times you are full of knowing and brightness.  This has always been a good reminder, since not knowing can be scary for us planner-types.
Differential erosion gradually carved this landscape.  Changing rock made of sand and mud turn back to sand and mud again.
My mind drifts to cowboy camping under another full moonrise back in 2014 when I was on the PCT.  It was my first time going to ground after being a die-hard hammock hanger, but I was surrounded by three wonderful trail friends.  Back then, I had no inkling I’d get stress fracture 800 miles later.  I wouldn’t have imagined I’d join AmeriCorps the following year, and then end up in New Mexico wearing an NPS park ranger uniform and feeling like I am “living the dream” just as much as when I was on the PCT.  Why do we waste so much time worrying about the future when it’s so clear that there is just no way to know?
In a tropical swamp during the Late Triassic, this tree turned slowly from wood to rainbow-colored stone.
Now, what I do know is that I’ve intentionally come out here to the painted desert to cowboy camp alone.  My complaining hips say, “Why aren’t we in the comfort of a hammock? You will regret this in the morning when we ache all day.”  What am I doing out here on the ground?  It goes beyond just trying to be a more versatile backpacker.  There is something about this experience of being open to the expansiveness of the sky, to the stillness of the crisp desert air, that makes this worthwhile.
When you lie on the ground, surrounded by quiet and rock, there is a feeling of connection. 
You shape your body to the ground.  The sky opens up above you, and there is nothing between you and the vastness.  You feel part of the vastness and completely insignificant at the same time.  It is easy to be grateful for everything, especially the difficult times you’ve gone through, that have shaped you and made you who you are.

I am glad for places like this— the quiet, the being able to see forever—that allow for solitude and reflection.
Clay swells as it absorbs moisture, then shrinks and cracks as it dries, creating an intricate texture.
In the long darkness eventually all thoughts get thunk out.  Then it’s back to watching the moon shadows do their creeping. 
Arriving back at the trailhead, and looking back on where I’d been.
More information

Backcountry permits are free, and available in the visitor centers at Petrified Forest National Park.  More info on backcountry camping here.

Wednesday, April 8, 2015

Arizona Trail Gear

My Arizona Trail gear was similar to what I used on the Pacific Crest Trail last year.  To avoid redundancy, I will only describe my favorite gear for the Arizona Trail and the specific aspects of my clothing system that were well suited for this trip.  Otherwise, just refer to this post on my hammock gear and this post on everything else.

Here is a spreadsheet of my Arizona Trail gear.

Environmental conditions on the Arizona Trail
Temperatures varied substantially over the course of a day and with elevation.  I know it's hard to imagine, but it dropped below freezing several nights (the northbounders we passed said it got into the 20s for them). We woke up with frost-covered tarps a couple times.  Other nights stayed warmer.  I’d often hike for the first hour in my down puffy coat and gloves, with long underwear bottoms or rainpants.  At higher elevations, I’d keep my puffy handy to wear when we stopped at rest breaks.  Do not underestimate how cold it will be on the Arizona Trail!
Wearing all of our warm clothes while hiking during cold mornings. Photo by Jan.
Daytime temperatures swung wildly- from the 30s to the 80s, but we lucked out an it can got much hotter for the hikers that left a few weeks after us.  The sun and heat were intense. Because I am fair-skinned, burn easily, and have a family history of skin cancer, I cover up in loose clothing, carried a sun umbrella, and applied frequent and copious amounts of sunscreen.
Staying covered up and using my umbrella hands-free.  Photo by Jan.
Spines and nasty, sharp, overgrown brush on the trail were a huge factor in clothing choices.  Abrasion-resistant fabrics helped (but didn’t totally prevent) skin from getting scratched and slashed up.
Overgrown trail.
Biting and stinging insects were not much of a problem.  Though I admit I’m a person who is not normally bothered by insects.  Had a few gnats swarming around a couple days, but not enough to put on a headnet.  No mosquitoes.  Lots of bees but I only got one sting and it was because I went near a pothole where water was scarce and I figure the bee was just defending a rare water source.

Rain was more frequent than I’d expected— rained several days in the afternoon, and two nights we got a soaking rain.  This was an unusually wet spring.  Condensation soaked us a few nights when we camped down low.

Personal style
I am a lightweight backpacker with a baseweight of 12 pounds.  I carry a hammock because it allows me to sleep soundly, but I do NOT recommend a hammock on the AZT (see my article here).  I carry a lot of insulation because I get cold easily.

Favorite gear items for the Arizona Trail: Umbrella, Comb, Tweezers, and Sunscreen

Umbrella: Chrome Dome (8 oz)  (see my post for how to rig the umbrella on your pack)

Hands down my favorite piece of gear on the Arizona Trail was my umbrella.  The sun out there is fierce, intense, and relentless.  The umbrella kept me significantly cooler and allowed me to hike during the heat of the day without passing out from heat exhaustion.  At rest breaks, it provided shade when none was available.
Rest break under the shade of umbrellas.
Umbrellas also provided us countless hours of entertainment and/or protected us from mountain lions and other dangers.  The umbrella also kept us dry in the rain.  Who knew it rained in Arizona!?!?  I can’t imagine hiking the Arizona Trail without an umbrella.
I thought Arizona would be sunny all the time.  So, what is this wet stuff falling from the sky?
Comb (plastic, from the hiker box) and tweezers (from my Swiss Army Knife, classic)
A comb removed cactus spines more easily than tweezers, but both were essential on the Arizona Trail.  Jumping cholla and burrs could be brushed off immediately with the comb before they’d work themselves in further.  Using your fingers for spine removal hurt too much--don't even think about it these spines have barbs.   When you’ve got a cholla sticking out of your skin, you want it off RIGHT NOW.  I kept my comb in the hipbelt pocket of my pack for easy and quick access. 
Removing a jumping cholla with my pink comb.
Tweezers extracted problematic spines that would embed in your skin. They also removing a bee sting from my cheek. 

Sunscreen: 3 oz bottle of Neutrogena Ultra sheer dry-touch SPF 70
I tend to be fairly thrifty, but I’ve learned not to skimp when it comes to sunscreen.  This type has a non-offensive odor and goes on thick but doesn’t feel gross.  I carry the 3 oz bottle because I need to apply it every two hours in copious amounts so I don’t burn to a crisp, even under my umbrella and hat.  Do not underestimate the Arizona sun.
If you are fair skinned like me, just suck it up and carry the 3 ounce bottle.
Clothes System

Hiking shirt: Railriders adventure shirt (6.5 oz)
Loved this shirt!  Great abrasion resistance for the brushy, thorny parts of the trail.  It prevented my arms from getting slashed up.  Provided great sun protection, side vents were good for cooling, roomy cut felt comfortable and breezy.  My major complaint with this shirt is that the sleeves are too short.

Hiking skirt: DIY skirt (4.5 oz)
A skirt worked really well for me.  Skirts are cooler, so prevent problems with heat rash.  I also love the versatility of being able to take off or put on long underwear/ rainpants over or under my skirt.  It also makes it very easy to go pee standing up.

Gaiters: DIY tall gaiters (3 oz)
These tall gaiters that I sewed myself were ESSENTIAL for protection from spines and nasty brush.  I can not emphasize how overgrown some parts of the trail were, and how many prickery, pokey plants are out there waiting to attack your flesh.  Having tall gaiters to protect my lower legs allowed me to wear a skirt, which together with the gaiters is a versatile system.  This combination was cool in the heat, and then in the cold I would wear my long underwear under the tall gaiters. 

Fleece Hoodie: Melanzana Micro grid  (9 oz)               
I love the warmth and coziness of sleeping in my fleece hoodie.  The material feels great against my dirty, sweat-encrusted skin.  The front pouch keeps my hands warm.   Some people might get away with sleeping in just long underwear, but I sleep cold so prefer to sleep in my fleece layer.

Long underwear bottoms: Patagonia capilene 4 (5.5 oz)
Wore these every night and hiked in them the first hour or so in the cold. 

Down coat: Montbell UL (7 oz)

Went with my lighter-weight down coat this trip and that worked well.  Wore this for hiking the first hour every day, and used it at rest breaks at higher elevations.  My down coat is an essential part of my sleep system because I use it as a hood with my top quilt.

Down booties: Goosefeet socks (2.8 oz)

Love my down booties!  Keep my feet from freezing at night.  I no longer question the extravagance.  These are an essential part of getting a good nights sleep.

Down hat: Black Rock Down (1 oz)
OK so maybe this was excessive.  But I wore it most nights and mornings, and it sure felt good to not be freezing cold.  This hat provides lots of warmth for just an ounce.  Love the band, and it stays on when I sleep.

Gloves: Surplus Wool Liner Gloves (1.5 oz)
Wore these while packing up and hiking the first hour.

Sun hat: Sunday afternoons sport hat (2.5 oz)

It was sometimes too windy for the umbrella, so the wide-bimmed hat was essential for sun protection..  This one has excellent coverage and ventilation.  The chin strap held the hat on in strong wind.

Sun wristies: DIY fingerless (1 oz)
Essential for sun protection.  Protected my hands from spines, abrasion, and windburn too.

Sunglasses: Oakley Juliet  (1.8 oz)
Wrap around, good quality sunglasses were also essential.  Also helped for wind, dust, and bug protection.

Raincoat and Rainpants: Zpacks Cuben jacket and pants  
Just right for the few times it rained.  Plus wore for extra warmth and while doing laundry.
Raincoat, rainpants, and umbrella--because it does rain on the Arizona Trail.
Trail Shoes: Keen Voyagers and Altra Lone Peaks
I prefer low-cut trail shoes that are highly breathable and NOT gortex.  But I have major problems with finding shoes that fit my huge feet (they are so big I have to wear men’s shoes) and my bunions.

I love/hate both of these shoes.  The keens give me blisters on my pinky toes when I carry more than 5 L of water.  I got a stress fracture last summer while wearing the altras with microspikes, and while I thought my stress fracture had healed completely (hadn’t felt anything in 6 months), wearing the altras again started to aggravate the old stress fracture injury two weeks before I started this hike. 

On the Arizona Trail, I started with the keens but got annoyed with how hot they felt and with my pinky toe blisters.  So after 100 miles I picked up the altras and carried TWO pair of shoes, and alternated during the course of each day.  It felt ridiculous carrying two shoes, but this was the healthiest option because I’ve struggled so much with my feet.
Shoe frustration.
Carrying two shoes for a little while allowed my blisters to heal and my feet felt great in the altras, but I hoped that wearing them only part of the time would not put too much stress on my feet.  Unfortunately, my stress fracture site started feeling weird after a few days of wearing the Altras-  not painful, but I could feel it.  It was so frustrating because the altras feel awesome otherwise and give me no other problems, but I was not gonna mess with that stress fracture.  So for the last 100 miles I wore only the keens.  Since I was carrying less water and doing low miles, I had no foot problems.

For future hikes, I dream of finding trail shoes that give me neither blisters nor stress fractures, and that don’t hurt my bunions.  Is this too much to ask? If anyone has suggestions for me, please comment below...

That's it for the gear talk.  As I said, my hammock gear was reviewed in another post, this post is on everything else, and I talk more about my water system for the Arizona Trail here.  Let me know if you have any questions or comments!

Disclaimer: I am a Gossamer Gear Trail Ambassador, and I got the Mariposa pack from them for free.  All other gear was purchased by me.

Thursday, April 2, 2015

Using a Smartphone for Navigation on the Arizona Trail

Many long distance trails have navigation apps for smartphones.  But what do you do if you are hiking a trail where there are no dedicated apps (like Guthook's Guides)?  Here, I describe the navigation problems we had on the Arizona Trail and give an overview of how to use your smartphone as a GPS.
Which way do I go? Photo by Jan.
How navigating on the Arizona Trail was challenging

If you have hiked well-established long distance trails like the AT and PCT, it might be hard to imagine why navigating on the Arizona Trail could be challenging.  For being such a new trail, the Arizona Trail is remarkably well-signed and we were impressed by all the good, clear trail there was. 
Brown carsonite Arizona Trail signs were always a welcome sight.
But because the Arizona Trail is newer and not as heavily traveled, navigation was more tricky than what I’d encountered on the AT and PCT.  It is important to understand the situations where navigation is difficult so you understand why it could be helpful to use the your smartphone as a GPS device.
Faint, indistinct tread sometimes can make it hard to distinguish the Arizona Trail from cow paths.
The Arizona Trail uses a combination of trails and roads pieced together, in addition to parts that were constructed specifically for the Arizona Trail.  Therefore, the character and signage of the trail changes as it goes through different areas.  You might be on well-graded single-track tread, then pass through an area with cow paths galore heading off in all directions, then turn onto a steep ATV road, and then follow paved roads into town.  Signage and ease of navigation is constantly changing.
Paved roadwalks were often unsigned, and were where we used our smartphones often.
Because there are few hikers of the Arizona Trail, you cannot assume that the most well-traveled path is the Arizona Trail.  In places with more cows than hikers, animal trails can be bigger than the Arizona Trail and form complex networks that get confusing and are unsigned (cows apparently don’t need signs).  In other places, dayhikers use the trail systems most often so their trails are clear and well-trodden, and the Arizona Trail junctions may be hard to find.
Which trail is the Arizona Trail?
The signage doesn’t always tell you which trail or road is the Arizona Trail.  This was most frustrating in popular hiking areas like Saguaro National Park.  Local trail names were shown, but nothing showed which way the Arizona Trail went.  Other times only the way north on the Arizona Trail was indicated, southbounders needed to figure it out themselves.  The guidebook and databook do describe the way to turn at each junction, but we were going southbound so it wasn't straightforward to reverse the directions in some cases.
Arizona Trail sign pointing in only one direction.  What's a southbounder to do?
Finding off-trail water sources was also a challenge.  On the AT, signs and blue blazed trail led the way to water.  On the Arizona Trail, the majority of off-trail water is unmarked, and you’d have no indication of how to find it unless you keep your eyes peeled and follow the water report or databook’s directions  “0.3 m NW” to the tank.  But when you get to the mileage listed for the watersource, there are multiple cattle paths up the wash.  I’d pull out my compass but couldn’t figure out which NW route to take. 
The databook (from the AZTA) and water report provides a rough guide for where to get water.
All of this means that most of the time you will follow your databook, but there will also be several times throughout the day where you will stop and wonder, “which of these two trails at a junction is the Arizona Trail?” or “am I still on the Arizona Trail?” and “where the heck is the water?”

Using your smartphone as a GPS

Many experienced northbound hikers that we met were also frustrated by navigation on the Arizona Trail.  They’d gotten off trail frequently, and been confused at unmarked trail junctions.  Several of them had hiked the AT or PCT using Guthook’s Guides on their smartphones, and wished they had a navigation app on their smartphones that would work without cell service.  I was surprised so many experienced hikers didn’t know that they can use their smartphones as GPS units and store topo maps for offline use!

Smartphone can function as a GPS unit offline (i.e. even if you don’t have cell phone service) by using one of several navigation apps.  I will not review the various apps here (I use Gaia GPS and Jan used Trimble), but their use is similar.   First, download the GPS tracks and waypoints (usually a .gpx file) onto your smartphone.  We got the GPS files for the Arizona Trail by becoming members of the Arizona Trail Association.  Then you transfer the GPX file to your smartphone (I save it in my google drive folder for offline use) then open the GPS file using the navigation app.  The interface then looks very similar to a GPS unit.  Next, download the topo map files to the smartphone manually so they can be used offline.

Then on the trail, you can use the smartphone like a GPS to locate your position on your topo maps.  This is because even without cell service, your geographic location is still figured out once you take your phone off airplane mode.
Even without service, I could checked my location (yellow triangle) to find I was not on the right trail (light blue solid line and red dots), and had missed the turn and had to backtrack.
We usually only used our smartphones to navigate when we were at unsigned trail junction or when we suspected we were no longer on the trail.  Usually just a couple times a day.

Learning to use your smartphone as a GPS requires a bit of a learning curve, so we suggest you try it well before you head out for a trip.  It took me months to learn the finer points and become a skilled user (and to figure out how not to rapidly drain my battery).
The topo maps on my smartphone show exact locations of water sources relative to the trail.
Downloading topo maps

When you download the topo maps manually, you choose how much coverage you want and how far out from the trail you want to download.  You also need to select the type of topo map to download (each “layer” shows different information).  For a long trail, you will end up with a bunch of different saved maps, all with potentially multiple layers.  If you download a larger area, it requires larger file sizes.   If you end up hiking further away from the trail beyond the extent of your downloaded topo maps, you will literally be in a gray zone- you will see your position relative to the gps tracks, but you will not have the topo lines or map for where you are.  This is why it’s important to practice using navigation apps before you hit the trail so that you can learn how much map to download and which layers you find useful— there is definitely a learning curve to this.  File sizes for the maps may be large, so you may need a system for downloading them during resupply stops.

Battery use

Navigation apps are notorious for draining smartphone batteries.  This varies by app, smartphone, and usage.  There are many articles written about this topic (see below).   Again, practice before you hit the trail to learn how to reduce battery usage.  When used efficiently, I had no problems.  But this is because I know what settings to use and I also only use the app sparingly, checking location only a few times a day and never leaving it on for more than a moment.

The GPS tracks are not always right

Several times there was conflict between what the GPS and our instincts indicated was the trail. Follow your instincts over what the GPS says.  The GPS tracks and waypoints contain errors. The first time we noticed this was on passage 15 (between 15-123 and 15-125).  Cow paths and dirtroads crisscrossed this area, but we were following dirt road and rock cairns.  At an unmarked dirt road junction, both Jan and I check our location on our phones, and both of us saw we were off the GPS track.  We backtracked all the way to our last trail sign, and saw that the GPS tract couldn’t be right- it led off into the cactus and scrub.  This convinced us that the tracts were wrong, and to follow our instincts and the cairns.  Of course it would have been easier if there were actual trail markers at junctions, but for areas like this one where there were so many indistinct old roads and animal paths, that would be tough.
Following the rock cairns, not the GPS tracks.
The GPS tracts and cairns didn’t match a second time in the Wilderness of Rocks area (Passage 12).  Again, we backtracked, and saw the tracks led down a wash where the cairns clearly indicated another route.  We concluded the trail had been rerouted and the GPS tracts hadn’t been updated here either.
Here I was on the trail, but the GPS line is wrong.
Another time (near the Gila River) we noticed the waypoint indicated we’d only done a few miles, but our instincts said we’d hiked more.  We suspected a mistake in the waypoint labeling, and at the end of the day, we confirmed our instincts had been correct.

Take home message: Know your pace, be able to estimate your mileage, and trust your route-finding ability over your electronics.
The Arizona Trail follows lots of dirt roads where we'd cruise and be prone to missing turnoffs.
Conclusions

Using your smartphone as a GPS provides a good solution to the navigation challenges of the Arizona Trail.  If you are already used to using your smartphone as a GPS to supplement your databook and paper maps, you can still do so if you can find GPS tracks for your trail.  For the Arizona Trail, these can be downloaded from the Arizona Trail Association website (if you become a member).  You still have to use your brain, but using navigation apps can make your hike much less frustrating when the junctions are ambiguous or when you get off-trail.

Note that dedicated apps are coming out for the Arizona Trail, and that the Arizona Trail is constantly changing.  I hope that this article serves as a useful guide for those interested in planning a trip on the Arizona Trail or other long trail without a smartphone app.

Also, remember that it is always advised to use paper maps and not rely solely on electronics.  We navigated with the databook primarily, and used our smartphones for navigation only a few times every day.  For a less well-marked trail, better topo maps and a dedicated GPS unit would have been a better choice.
Helpful signs are being added all the time to the Arizona Trail as this trail develops.  We're happy this trail is improving all the time due to the efforts of trail maintainers, volunteers, and the Arizona Trail Association.
Further information

Adventure Alan’s how to use the iphone as gps mapping device (provides details and is an excellent reference for how to save battery life)

Guthook gives tips on how to get the most from your smartphone battery.

Discussion of GPS device vs. Smartphone navigation on Section Hiker

Gadget’s Guide to selecting a smartphone for long distance hiking

Support the Arizona Trail by becoming a member of the Arizona Trail Association or by volunteering!